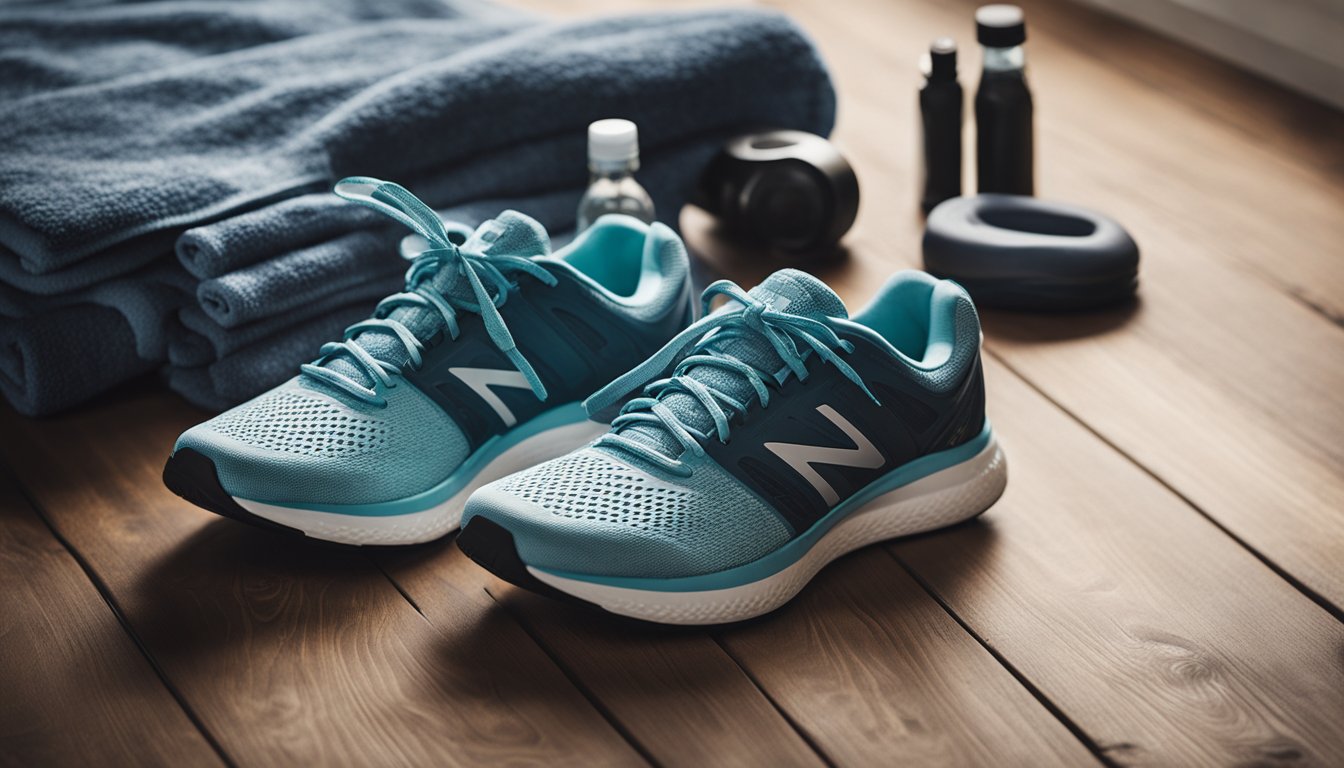
How to Break in New Running Shoes: Pre-Run, Ideal Mileage, & Watch Outs!
Are you ready to hit the ground running with your new pair of shoes but worried about the break-in period? Discover the key to a comfortable transition with our expert guide on breaking in new running shoes.
Learn to identify the telltale signs of a poor fit to avoid potential injuries and enhance your running experience. Plus, boost your shoe adaptation with specific exercises designed to strengthen your feet. Whether you’re a seasoned marathoner or a casual jogger, our tips will ensure your new running shoes support every stride.
Get ready to lace up and embark on a pain-free running journey!
Breaking in New Running Shoes – What’s the Point?

When runners get a new pair of running shoes, it is crucial to break them in properly to avoid paint and discomfort during longer runs. This article includes advice and tips for breaking in new running shoes based on my experience and conventional wisdom.
Why Breaking in Running Shoes is Important
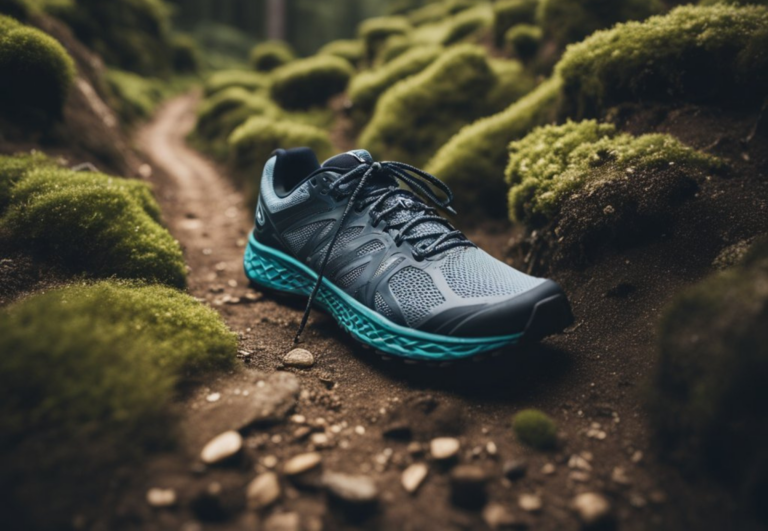
New pairs of running shoes often have a stiffness that needs to be eased to mold to the unique shape of your feet. This applies to every kind of running shoe from Asics to Nike to Brooks and more.
If you ask any running coach or even a casual runner, they will tell you not to go for a long run or participate in a race with brand new shoes. Instead, you’ll need to take it easy and break in the shoes for a week or two first with gradual stretching while walking or jogging.
Doing so minimizes blisters, injuries, and other foot problems that can arise from a shoe that hasn’t adapted to the contours of your feet.
How Long is the Break-In Period?
Typically, the break-in period for running shoes can range from a few days to a couple of weeks depending on how often you wear them.
During this time, short runs are more beneficial than long distances to gently introduce your feet to the new shoes.
| Type of Use | Estimated Break-In Time |
|---|---|
| Casual walking | 3-4 days |
| Short runs | 2-4 runs |
| Longer runs | 1-2 runs (not advisable) |
Are Some Running Shoes Stiffer Than Others?
Yes, some running shoes might feel stiffer due to the technology and materials used in their design, which are meant to offer more support or performance features.
The level of stiffness varies widely depending on the brand and model, but all shoes will have some amount of initial stiffness. Over time, though, this stiffness diminishes and the shoes become more pliable, enhancing the overall fit and feel.
Prepare for Your First Run
Before you hit the road with your new running shoes, it’s essential to ensure you have the right socks, check the fit and comfort of your shoes, and understand the role of heat in preparing for a run.
Taking these steps will help make your first outing as comfortable as possible.
Selecting Proper Running Socks
Proper running socks are crucial for a comfortable run. Choose socks made of synthetic technical fabrics like polyester, which are designed to be breathable and wick away moisture, or opt for wool blends in colder conditions to keep your feet warm.
Avoid cotton as it retains moisture and can lead to blisters.
Here’s a brief rundown to pick the right ones:
- Moisture-wicking: Look for polyester or specialized acrylic fibers.
- Warmth: Wool blends are ideal for cold-weather runs.
- Fit: Ensure they’re snug but not too tight to avoid circulation issues.
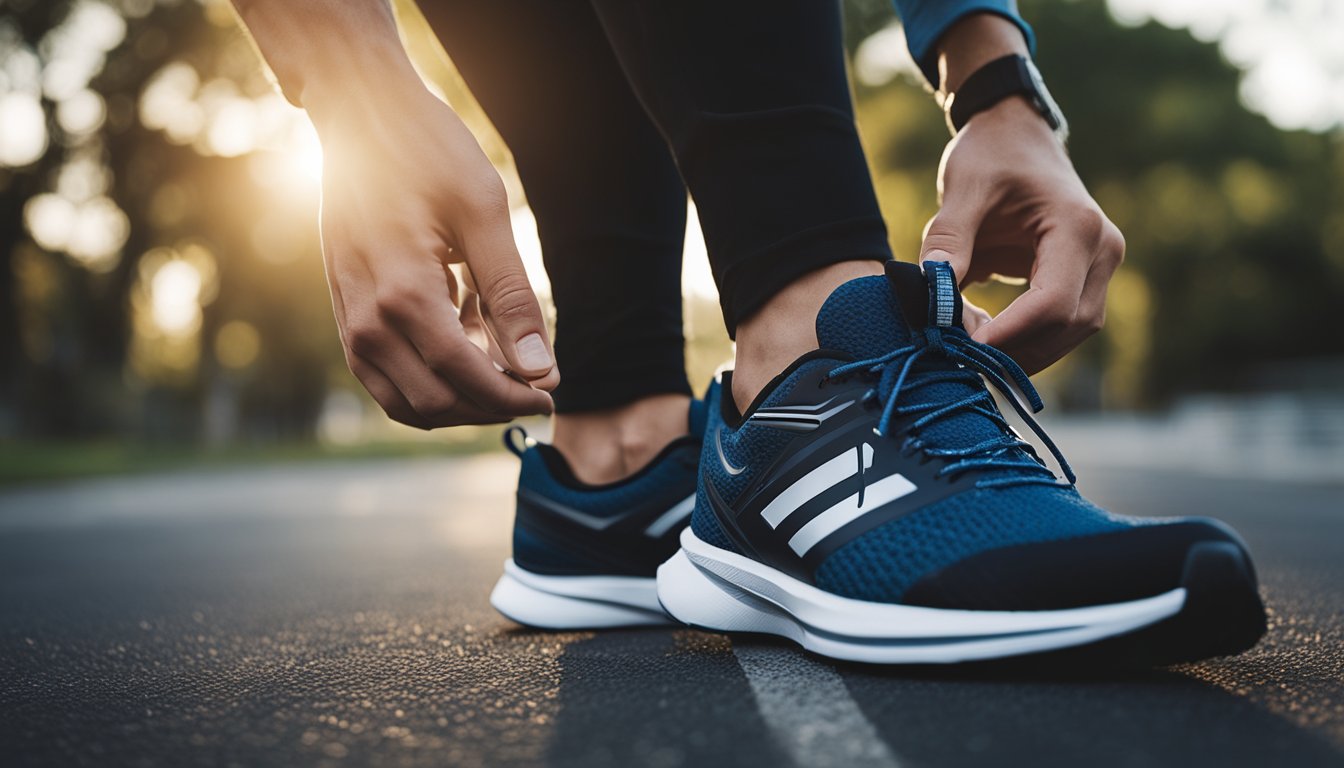
Initial Fit and Comfort Check
Before taking off, check that your running shoes fit well. Laces should be snug but not overly tight, and there should be a thumb’s width of space in front of your big toe to prevent black toenails.
Your heel must not slip, and the shoes should feel secure but not constrictive, ensuring comfort throughout your run.
Fit Checklist:
- Toe space: At least a thumb’s width.
- Heel: Secure with no slippage.
- Laces: Comfortably snug.
Note that you will need to make adjustments as the shoes loosen up based on your individual preferences.
Pre-Run Heating Techniques
A little heat can help the material of your shoes to soften and mold to the shape of your feet – but don’t go grab the hairdryer!
A gentle way to warm up your shoes is by wearing them around the house for an hour or so before a run. This can make the initial fit more comfortable and prevent potential discomfort from stiff materials when you start running.
Remember, don’t rush the process. Gradually breaking in your shoes will contribute greatly to your running experience.
Start Off with Short Runs
When breaking in new running shoes, begin with brief outings that avoid undue strain on your feet while helping you adjust to the new fit.
Planning Your Route
Map out a short route that’s familiar and comfortable – not a marathon! Consider a distance between 1-3 miles for your first few runs. This ensures a gentle initiation for your shoes without overwhelming your feet.
If you have access to a treadmill, it can make these short break-in runs easier to manage.
| Run Number | Distance |
|---|---|
| 1 | 1-3 miles |
| 2 | 1-5 miles |
| 3 | 1-5 miles |
The Significance of Short Runs
Starting with short runs is crucial as it minimizes the impact on your feet and allows the shoes to mold gradually to the shape of your foot. This slow increase aids in identifying any areas of discomfort early on.
Adjusting Your Stride
Pay attention to your stride during these initial runs. The goal is not technique or performance but to observe how the new shoes affect your form and comfort. It’s normal to feel a slight difference in your foot strike or stability during training – give your body time to adjust.
Protecting Your Feet During Break-In
When breaking in new running shoes, the goal is to protect your feet and maximize comfort. It’s about balancing a good fit, preventing blisters and other foot injuries, and managing hot feet through proper care.
Choosing the Right Running Shoes
Fit is Fundamental:
- Snug, not tight: Your shoes should fit well without being too tight or putting excess pressure in any one area, leaving a thumb’s width between your longest toe and the shoe’s end.
- Proper support: Look for shoes that offer support tailored to your gait to prevent injures.
Avoiding Blisters and Foot Injuries
- Break-in Gradually: Start with short runs to test the shoes out and gradually increase mileage in your new shoes to prevent blisters.
- Proper Running Socks: Always wear socks made for running—prefer synthetic fabrics or wool blends and avoid cotton to reduce friction.
| Material | Benefits | Best For |
|---|---|---|
| Synthetic | Wicks moisture, less friction | Warm weather runs |
| Wool Blend | Warmth, moisture management | Cold weather runs |
Using Moisturizers for Hot Feet
- Keep your feet moisturized, especially if you experience hot feet during runs, to reduce risks of corns and calluses.
- Natural options like aloe vera can soothe and prevent overheating.
Consider Adding in Foot and Ankle Exercises During the Break-in Period
To complement the break-in process, consider incorporating exercises that strengthen the feet and improve flexibility. Here are a few exercises to try:
- Toe Splay: Sit or stand and spread your toes as wide as possible, hold for a few seconds, then release. Repeat 10 times to improve toe flexibility and strength.
- Heel Raises: Stand with your feet hip-width apart. Slowly raise your heels until you’re on your tiptoes, then lower back down. Perform 2-3 sets of 10 to strengthen your calf muscles and ankles.
- Ankle Circles: Lift one foot off the ground and rotate the ankle 10 times clockwise, then 10 times counterclockwise. Switch feet. This helps improve ankle mobility.
- Towel Scrunches: Place a towel flat on the floor and use your toes to scrunch it toward you, then push it away with your legs and calf.
Signs of a Poor Fit With Your New Running Shoes
While breaking in your shoes is expected to involve a short period of adjustment, certain discomforts should not be ignored as they may indicate a poor fit.
Be on the lookout for the following signs:
- Persistent Blisters or Hotspots: While occasional blisters can occur, consistent problem areas or hotspots, especially in the same location, suggest that the shoe is not fitting properly in that area.
- Toe Crowding: Your toes should have enough room to spread out in the toe box without feeling cramped. If your toes are hitting the front of the shoe or you’re experiencing pinching on the sides, the shoe may be too small or narrow.
- Heel Slippage: A little movement in the heel is normal, but if your heel is slipping out of the shoe despite proper lacing, it could lead to chafing and instability.
- Arch Discomfort: If you feel strain or pain in your arches during or after a run, the shoe may not be providing the right level of support for your foot type.
- Excessive Wear: Pay attention to unusual or asymmetrical wear on the soles of your shoes early on, as this could indicate poor quality, durability, alignment or an ill-fitting shoe.
If you encounter any of these issues, it may be worth visiting a specialty running store for a fitting and trying a different shoe model or size of shoe. Also, check out the return policy for the shoes you bought!
When Can You Add New Running Shoes to Your Normal Rotation?

Transitioning to new running shoes is critical to avoiding foot injuries. Start by alternating between your old and new shoes over a four to six-week period. Your feet need time to adjust to the new fit and support of the running shoes.
- Week 1: Wear your new running shoes around the house to get accustomed to the feel.
- Week 2-3: Progress to light jogs, limiting mileage to 2-5 miles to prevent blisters and hot feet.
- Week 3+: If the shoes fit well and feel comfortable, increase the distance gradually.
Remember, the right fit and comfort are essential when incorporating new running shoes into your rotation. Don’t rush this process, as doing so can lead to corns, calluses, or more serious injuries.
| Timeline | Suggested Use |
|---|---|
| Week 1 | Indoor wear |
| Week 2-3 | Short outdoor jogs |
| Week 3+ | Longer runs if comfortable |
Always wear proper running socks to ensure the best fit. Consider moisturizing your feet to protect the skin during the transition. Listen to your body—if you experience pain or discomfort, it may be helpful to cut back on the mileage or extend the break-in period.
Alternative Approaches to Break-In
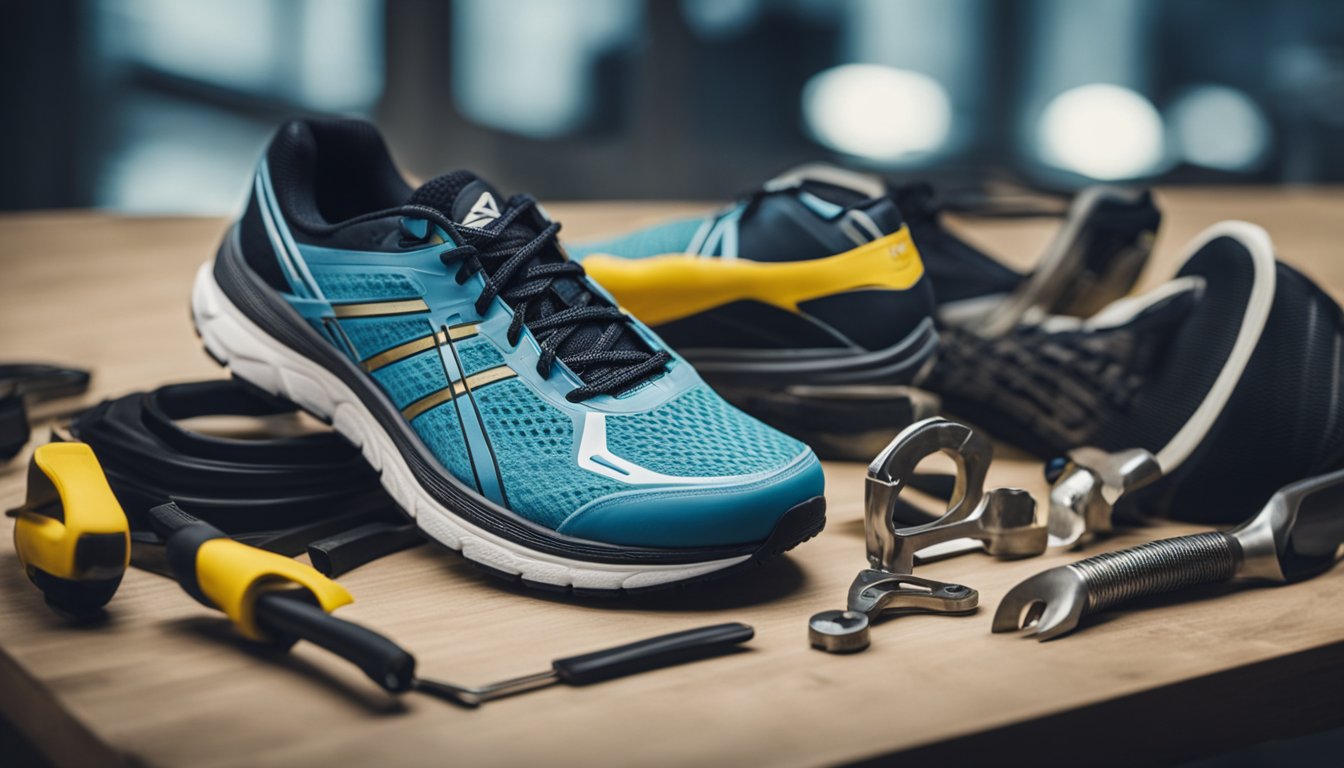
When getting comfortable with new running shoes, you have the option to use various accessories and employ unique techniques tailored to the shoe type. Here’s how to effectively ease into your new pair without wearing them out prematurely.
Using Accessories and Tools
Freezer Method: For a snug fit, especially with lightweight shoes, use the freezer trick. Lightly fill two sealable plastic bags with water, place them in the toes of your shoes, and freeze them overnight. As the water expands, it gently stretches the shoe.
Heel-to-Toe Drop Adjustment: Cushioned shoes often have a significant heel-to-toe drop. Use over-the-counter inserts that can help ease the transition to the new drop height, giving your feet time to adapt to the shoe’s profile.
Break-In Techniques for Different Shoe Types
Cushioned Shoe: If your shoe boasts high cushioning, start by wearing them for short walks. Gradually increase the distance each day to allow the foam to mold to your foot shape without over-compressing the material.
Lightweight Shoe: Often built for speed and less for support, begin by doing light activities in your lightweight shoes. Short jogs or errands can help the material to flex and your feet to adjust without the strain of long-distance runs.
Trail Running Shoe: Since trail shoes endure rough terrain, you need them to be adaptable yet robust. Walk on different surfaces to break them in—switch from asphalt to grass to replicate trail conditions and ensure the sole grips and flexes as intended.
- About the Author
- Latest Posts

Joshua Bartlett is a UESCA Certified Running Coach and Editor at Your Next Run.
It is his job to make sure that readers get only highly-researched and comprehensive questions to all of their running questions.